Dwarfology (Part V)
- Durgin

- Dec 27, 2019
- 3 min read
Updated: Jan 3, 2020
A new year is coming, and a new tutorial has come!
One of my new year resolution, probably the most important to me, is to create more contents concerning painting and hobby in general, and I want to start earlier, in order to get carried away and start the new year on fire!
I'm quite happy about the first video tutorial we made, and to give you a better explanation of my painting process, I thought about creating this post to give you more details and painting tips.
So, without further ado, let's dive into this new videotutorial!
HOW TO PAINT A PROPER BEARD
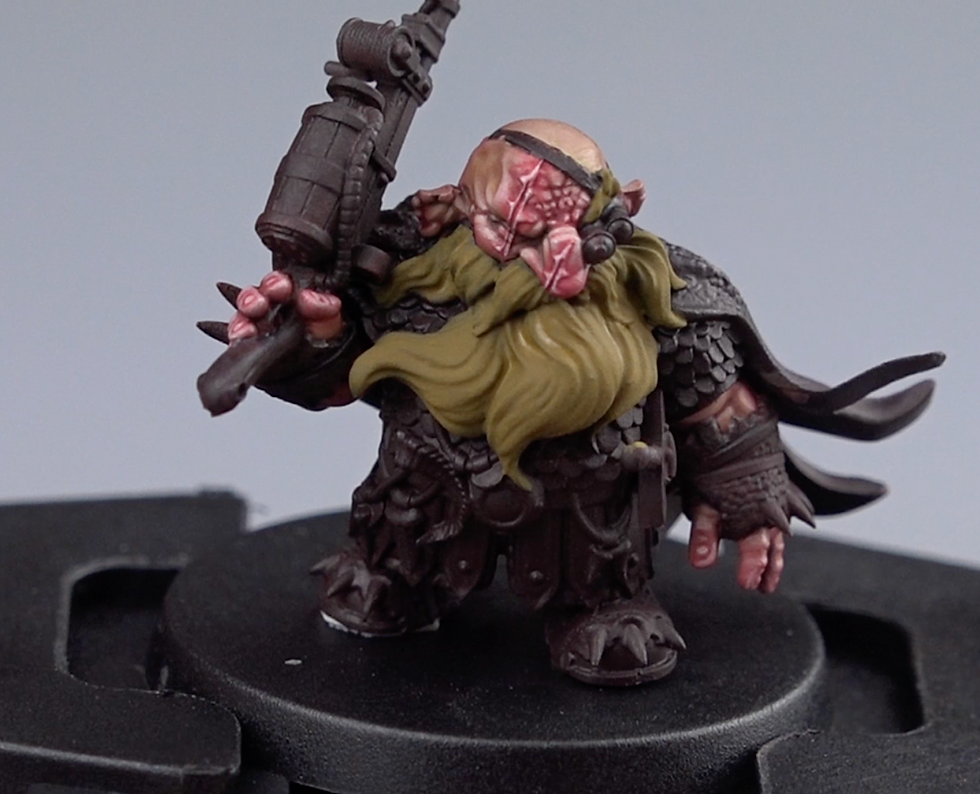
The first step is, always, painting a smooth and consistent basecoat. I use to paint using a kind of dark-chocolate undercoat, so painting an ochre colour on it may be tricky because, as any yellow tone, it doesn't cover very well on a dark undercoat. To achieve a smooth basecoat with a not-covering colour, it's always better to dilute it a bit more than usual (I usually dilute basecoat colours with a 2:1 -colour: water- ratio, while this time I diluted with a 1:1 ratio) and, with a bit of patience, to paint several thin coats (3-4 coats).
Be patient 'till you get a nice, smooth basecoat:
As usual, soon after I achieved a smooth basecoat, I gave a wash on the surface to immediately get dark shadows on recesses.
In specific, I mixed Citadel Agrax Earthshade with a bit of Citadel Technical Contrast Medium.
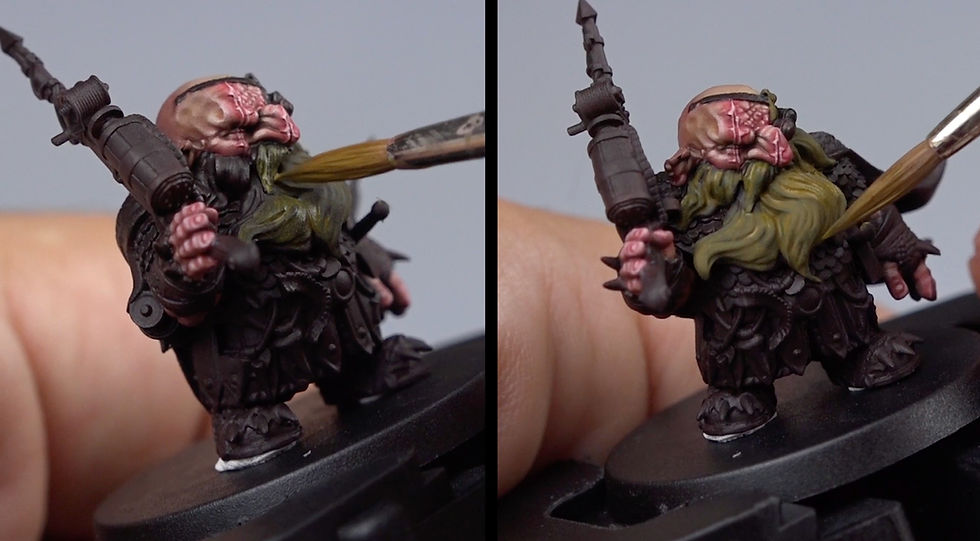
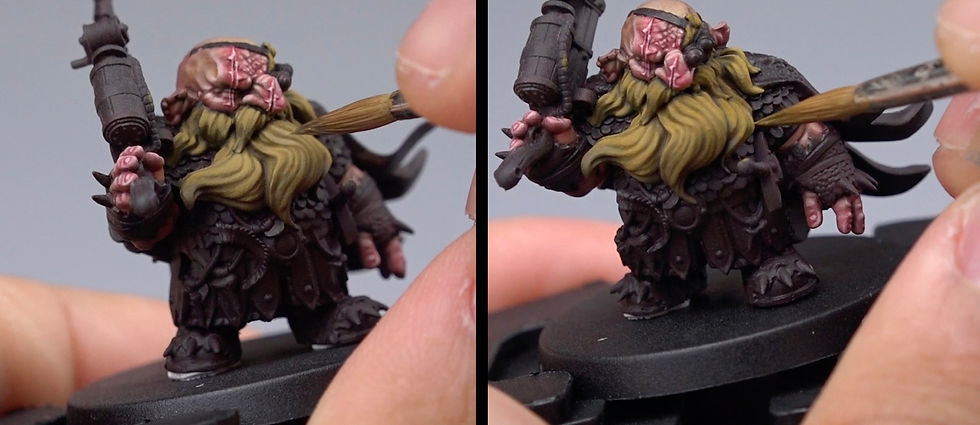
Now, it's time to paint the first highlights!
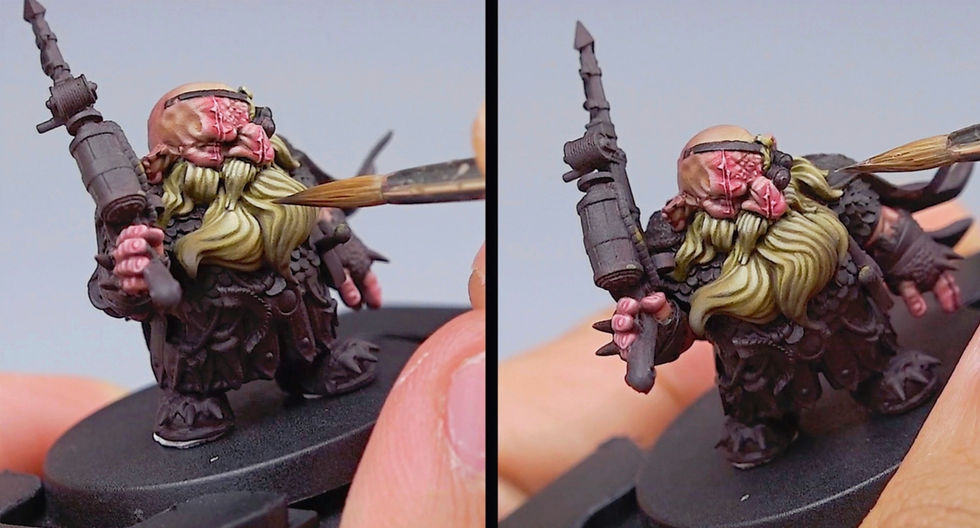
This is probably the crucial part of the beard painting process: when I paint first lights on beard, I focus only on its main volumes. In specific, I added a bit of Andrea Confederate Grey to the basecoat colour, and I started to highlight the beard without worrying about the texture itself: I just considered the beard in its entirety, dividing it into main volumes. This Hunter of Erdraz beard, for example, has 6 main volumes: the moustache, the two masses below the cheeks and the three masses below the chin.
With the first highlights, I just painted these volumes, highlighting them on top and leaving the basecoat colour between them and in their lower parts: don't be scared, at this point, to paint also the recesses!
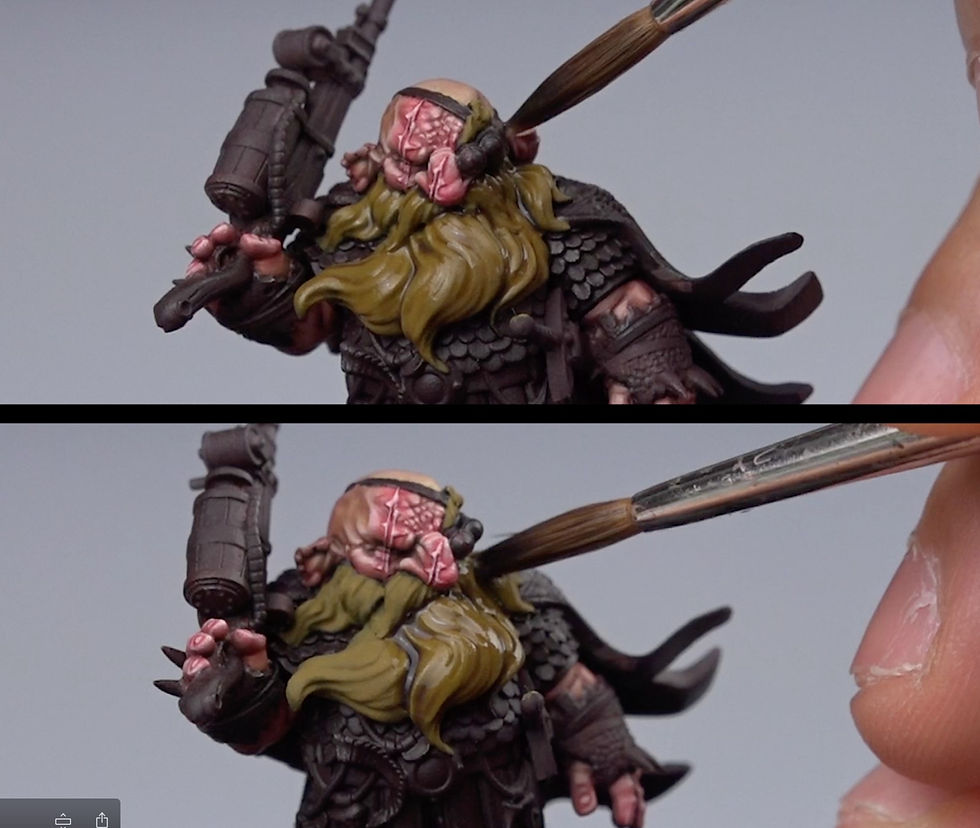
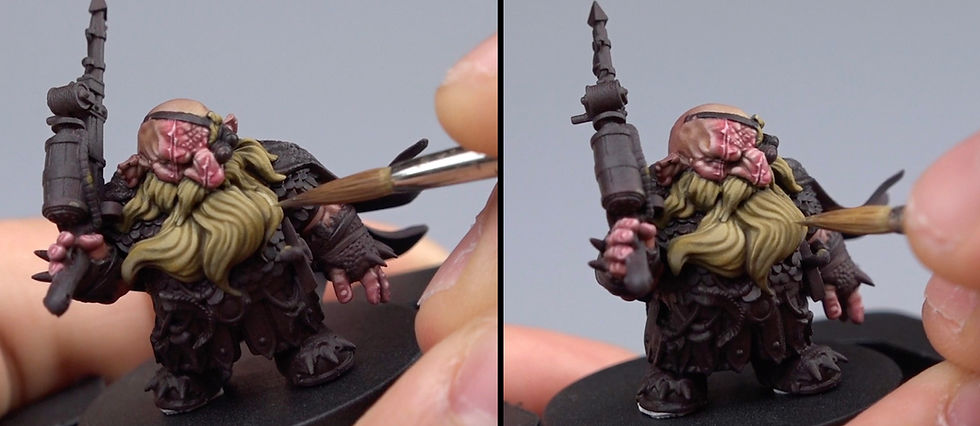
As soon as I set the general lights on the main volumes of the beard, it's time to increase the lights! From now on, I focused only on the edges of the beard textures: avoid to paint the recesses. I like to paint the beard lighter as long as it is closer to the face of the subject: in this way, the beard will frame better the character's face.
In specific, I highlighted the beard initially adding more Confederate Grey to the mix:
Then, I added small amounts of Vallejo Elfic Flesh to the mix, to increase the brightness of the colour mix.
The dilution ratio of these steps is my usual "glaze recipe": a quite diluted mix of colour (approx. 30%), water (50%) and Lahmian Medium (20%). Always remember to take a very very small amount of colour on the bristles of your brush, in order to have perfect control of it and always try to direct the brush strokes in the direction that you want the colour to be more evident: in the video you will see that, sometimes, I do not follow this advice and despite I wanted the colour to be more evident on the upper part, my brushstrokes go from up to down. I had to paint that way only for a "film-making requirement", don't blame me u_u
Obviously, painting with a very diluted colour, you will need to paint more layers, to achieve a consistent result, so don't be scared and, above all: be patient!
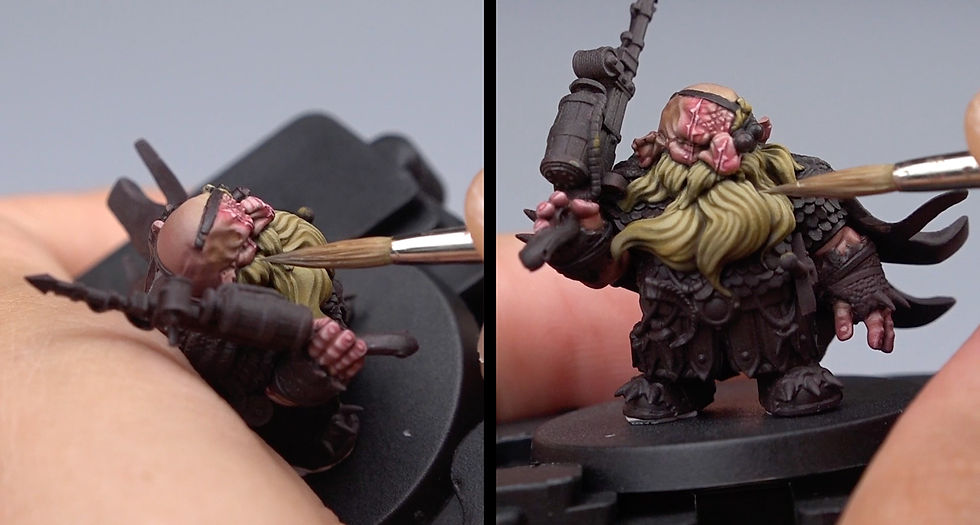
This pics above shows you the result of the first part of the highlights.
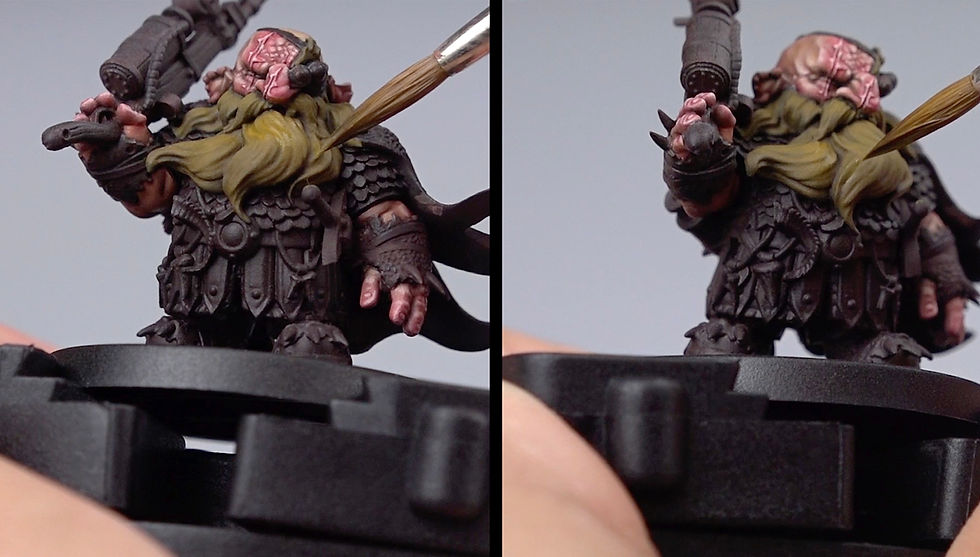
Once I achieved a nice brightness of the texture, I painted some shadows: in specific, I mixed some Ochre with Andrea Dark Leather, and I painted very subtle glazes (more diluted than normal glazes) on the lower parts of the beard. Moreover, with this dark brown tone, I painted the recesses, to better define them. To define the recesses, even more, I add some Andrea Blue Navy to the mix and I painted subtle, very dark, glazes, to better define those recess in the darkest area of the beards.
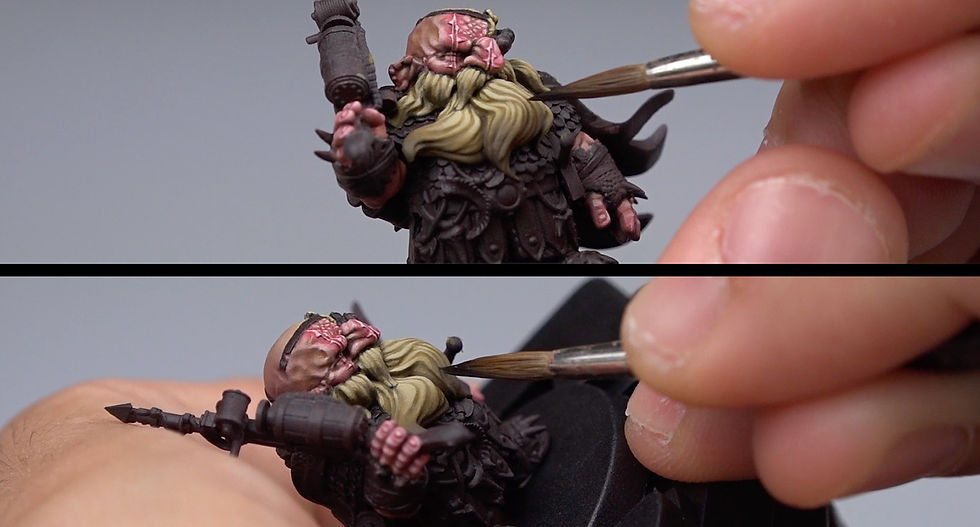
I then painted the very last lights, adding more Elfic Flesh to the mix (that at this point is almost pure Elfic Flesh). Painting with such a bright tone, be sure to dilute the mix a bit more, using Lahmian Medium in order to keep a decent covering.
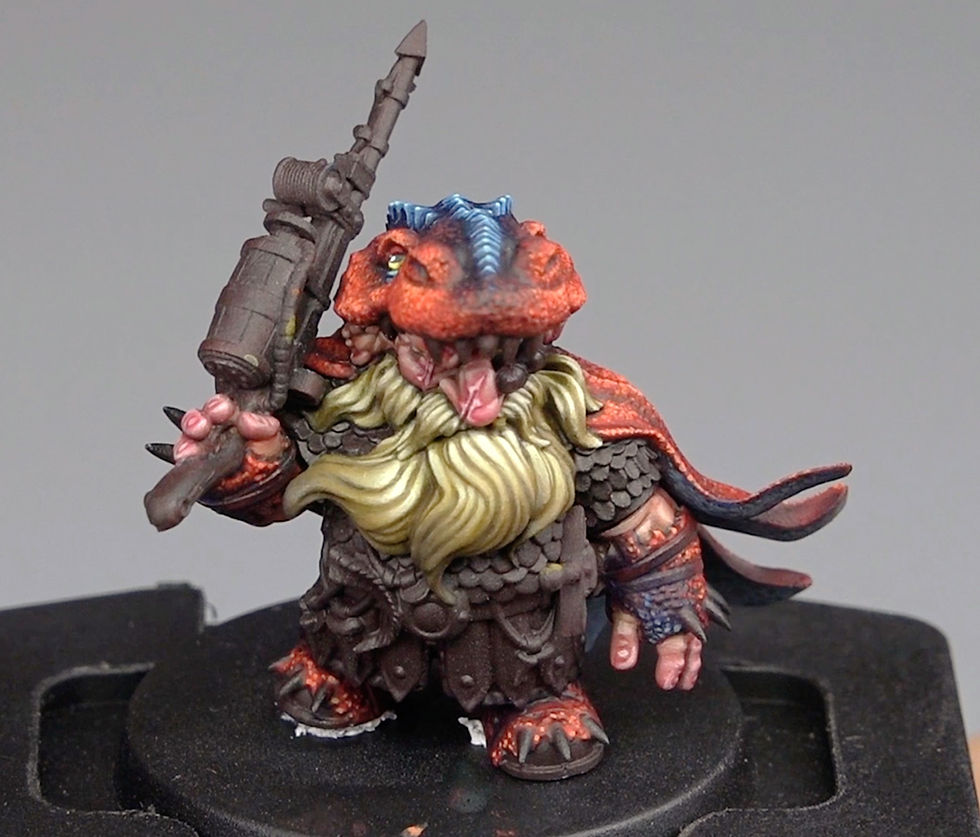
And this is the final result!


@Mark: Thank you so much for your kind words, Mark <3
Indeed, these videos are made to improve our skills before creating the proper Patreon contents :) I'm quite happy about the result, we are experimenting a lot and I think that we found a nice start point with them!
The Patreon will open only once I feel that I'm able to give you solid contents, and I've a lot of ideas to test before!
About your level as a painter, don't worry at all: I'm self taught and believe me, I've not a creative talent or something like that. I just painted, trying always to improve my skills :) pick your favorite miniatures and just have fun with them,…
These videos are so good. Thank You Matteo! Every time I watch your painting videos I get more excited. If Patreon is what it will take to get you to continue to publish these videos show me where to get in line.
Also, In your last post you said you were "decent painter"... I'm not sure if I will ever be decent in comparison. None the less, I can't wait for my Iron Crows and Second Government to arrive.